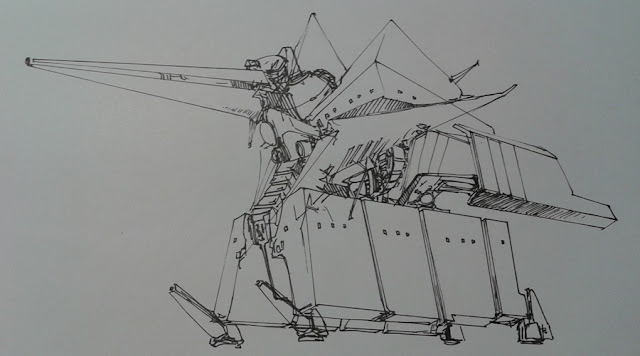
One of the best way to draw awesome robots with sharp edges and cuboidal bodies is surprisingly through traditional method. Drawing straight lines with the brush tool and lasso tool in Photoshop is fine, but I personally prefer using pencil and ruler on paper because it gives me ease and the necessary speed in controlling the direction of the lines. Coloring it, however, is better and faster done using lasso tool and adjusting the hue and saturation. Here are the steps:
1. Draw the outlines on paper after the initial draft and make sure that the lines are neat and clean. I usually use thin 0.1 tip graphic pen for this. Scan it, and open the image in photoshop.
2. Using the polygonal lasso tool, carefully select out the area of the robot and press ctrl + shift + J to make a new layer via cut. Be diligent and don't use the magnetic lasso tool because it will leave crappy pixels around the edges and make your robot looks unpolished. In the layer containing the robot, adjust the level by pressing ctrl + L or command + L so it looks bright enough for coloration. (see below)
3. Select the background layer and press control (command if you are using apple) + delete to color it with white. Then adjust the brightness by pressing ctrl + u so that you get the light grey color. This is useful so that the overall color contrast will not be so high when we are painting the robot. For the robot layer, press ctrl + u (to change the hue, color, and saturation) and I chose orange for the base color. Then use burn tool to make some areas darker than the other. In this case, the source of light is at the top left hand corner above the tank so the bottom part of every element should be darker.
4. Copy the robot layer and erase some areas that you want to color differently. Use eraser or lasso tool. After this, change the color to make them complementary. I did have some trouble in figuring out a nice color combination so take your time for that.
5. I finally settled with a dull cyan for the full body and bright yellow for highlights. Add a bit more shadows here and there and you can even add a third layer for a grey area around the machines. Finally, adding a paint daubs filter will create the shiny highlights around the edges of the line, rendering a more refined machine look for your turret.
6. Add a little bit of dark areas for value play using the burn tool. You can even put a texture over some areas to make it look rusty but that will be in some other tutorial. Polish some tiny white spots on the highlight area (depending on what kind of material your turret is made of) and it will look even more convincing with great background. Simple mecha coloration: DONE.
Here are a few other artworks done using the same method as above.


let me be the first one to comment james.
ReplyDeleteIt totally consists of simple steps, but the result is wonderful
Nice Tutorial :)